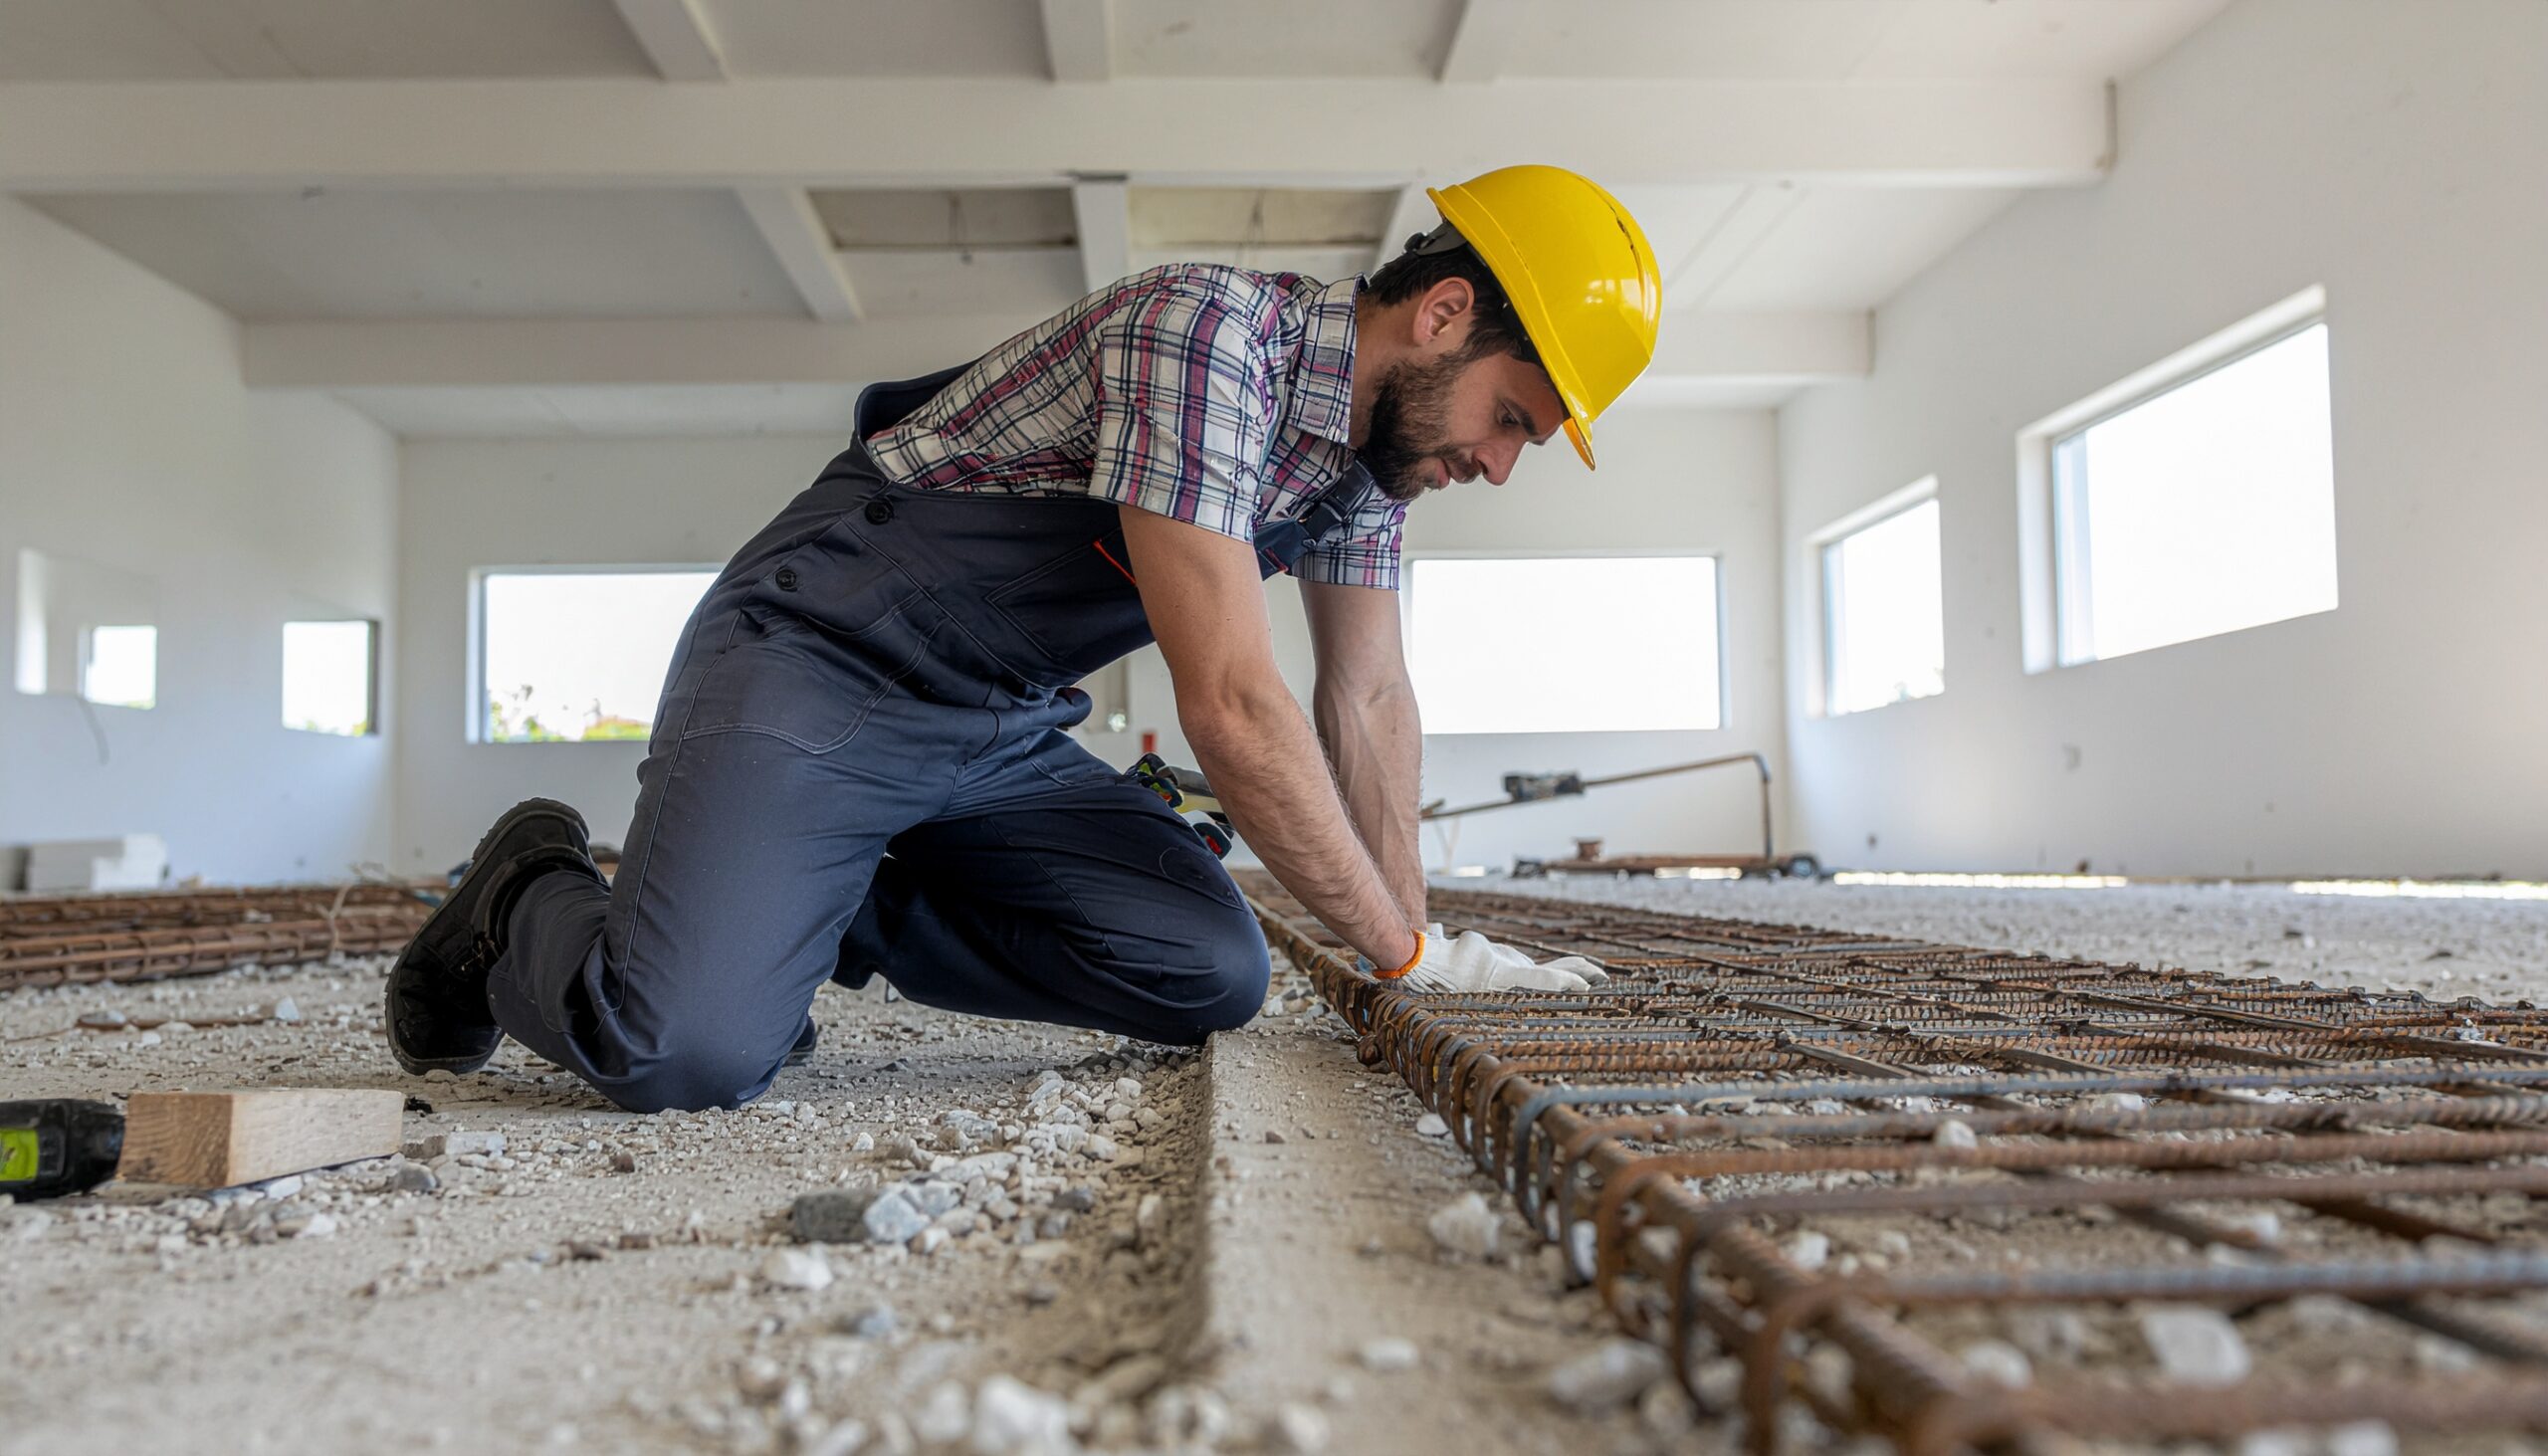
Alfagar renovation diary: from strip-out to photographed finishes
Finished-room photographs can make a renovation look like a single step. For an owner planning work in the Algarve, the more useful record also shows what was opened up, which decisions needed coordinating and how the finished spaces relate to the work in progress. This diary brings together photographs from the Alfagar project archive, keeping those stages separate rather than treating every image as an exact before-and-after match.
The first recorded stage: bathroom strip-out
The earliest photographs selected here were taken after demolition had already started. They are not an untouched view of the original bathroom. Blue floor tiles, removed fittings, rubble and exposed wall connections are visible. That distinction matters: an image taken halfway through strip-out cannot establish the original condition of everything that has been removed.
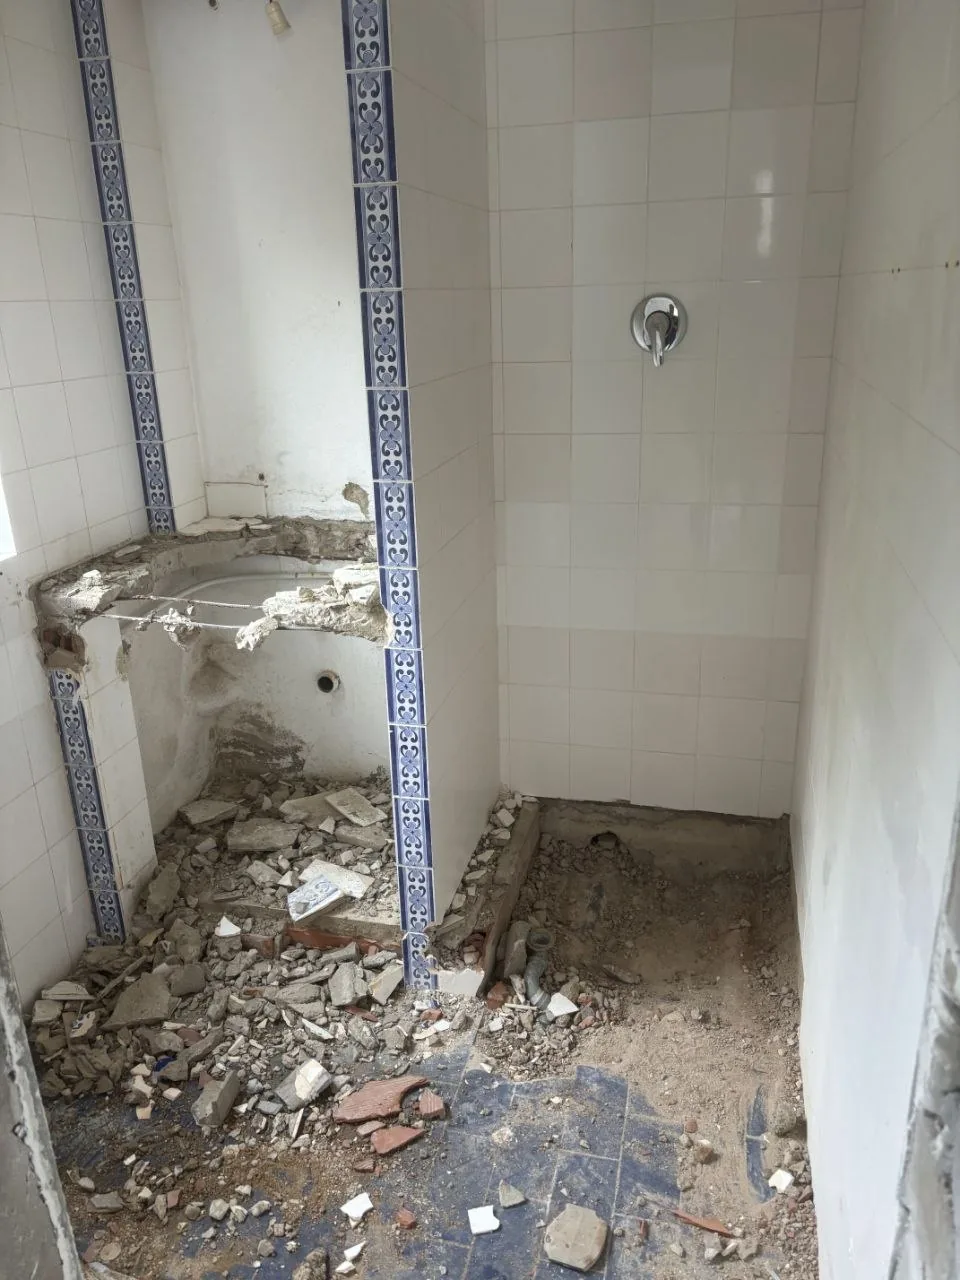
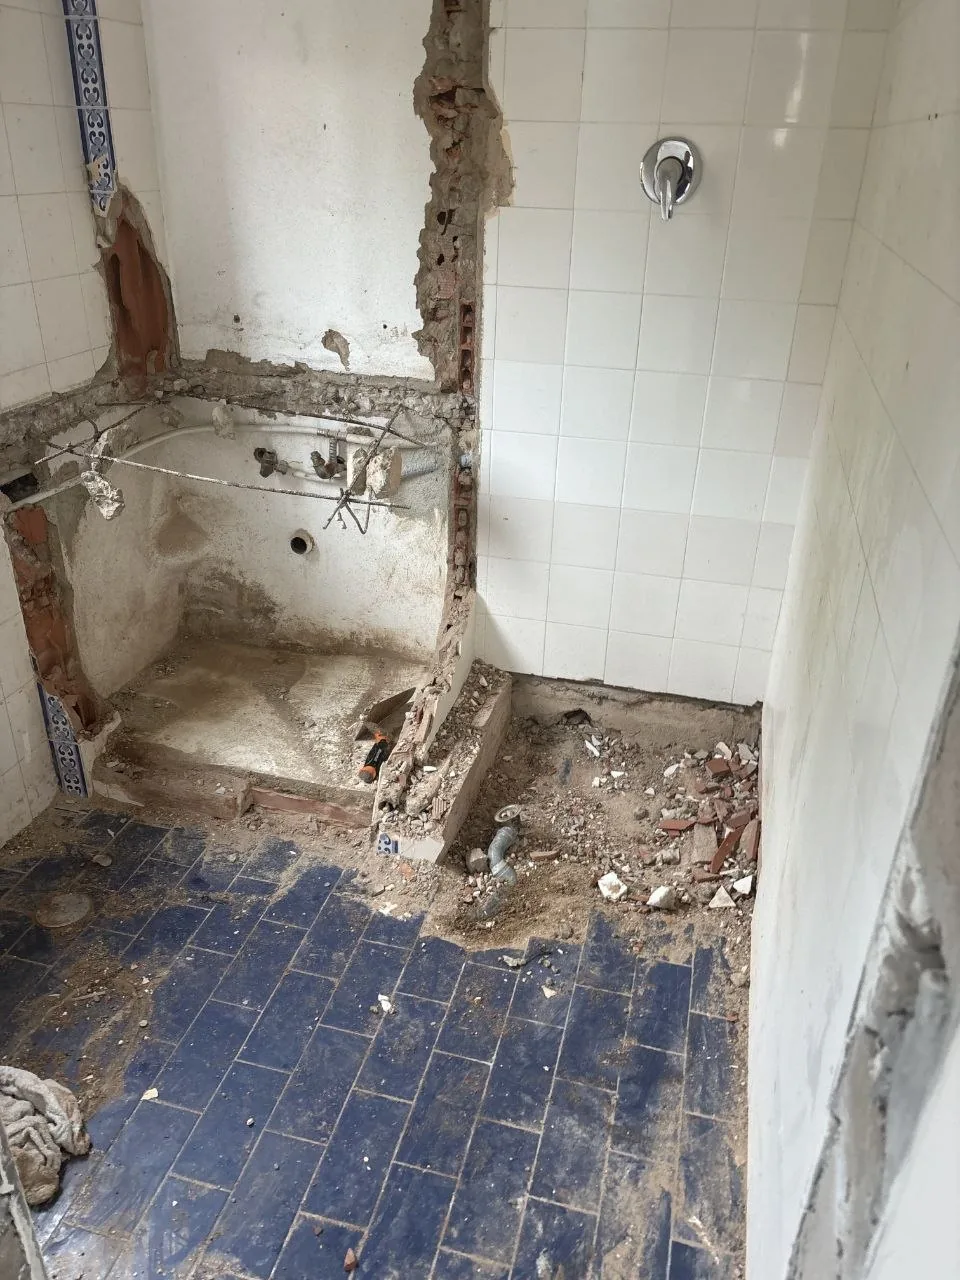
These photographs document the working stage. They do not, by themselves, establish the condition of hidden pipework, the cause of any defect or the scope of repairs. Those questions belong in the project survey and agreed specification, not in a caption inferred from a photograph.
Bathroom finishes, shown as a separate stage
The later bathroom photographs show white tiled walls, glazed shower screens and chrome fittings. One view includes a window beside the vanity; another focuses on the shower area. The change in material palette is visible, but the photographs were taken from different positions. They are presented here as project-stage photographs, not a matched comparison of the same camera angle.
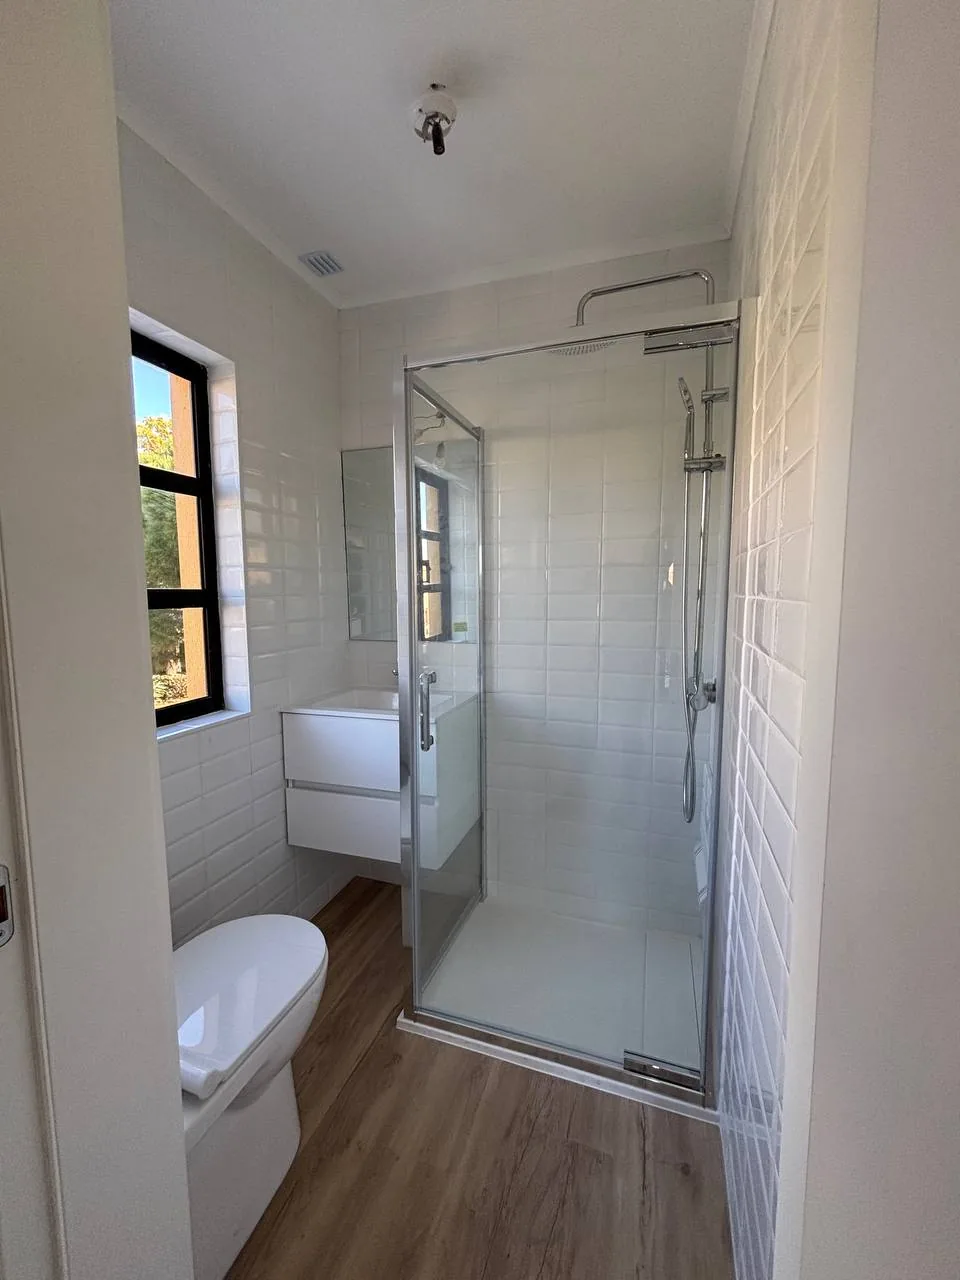
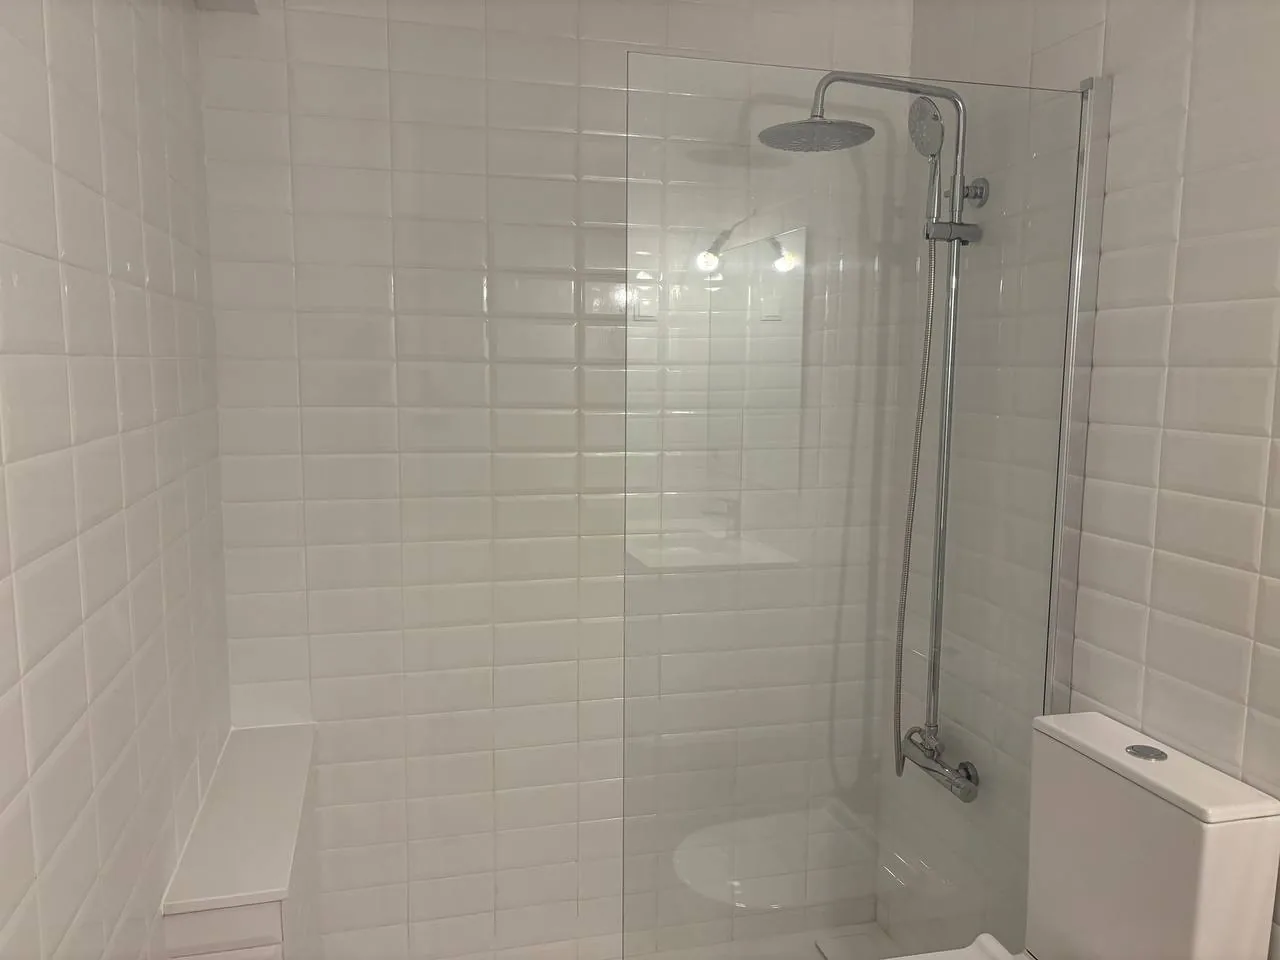
A photograph can show the appearance of a finish. It cannot certify waterproofing, test drainage or demonstrate compliance. Before approving a bathroom specification, an owner should ask how those checks will be recorded alongside the visual handover.
Kitchen and adjoining interiors
The kitchen view shows white cabinetry, a wood-effect worktop and an open arrangement with a peninsula. A separate interior photograph looks towards a glazed exterior door. Together they offer a clearer sense of the photographed spaces than a collection of isolated product details, without making claims about dimensions or structural changes that are not documented here.
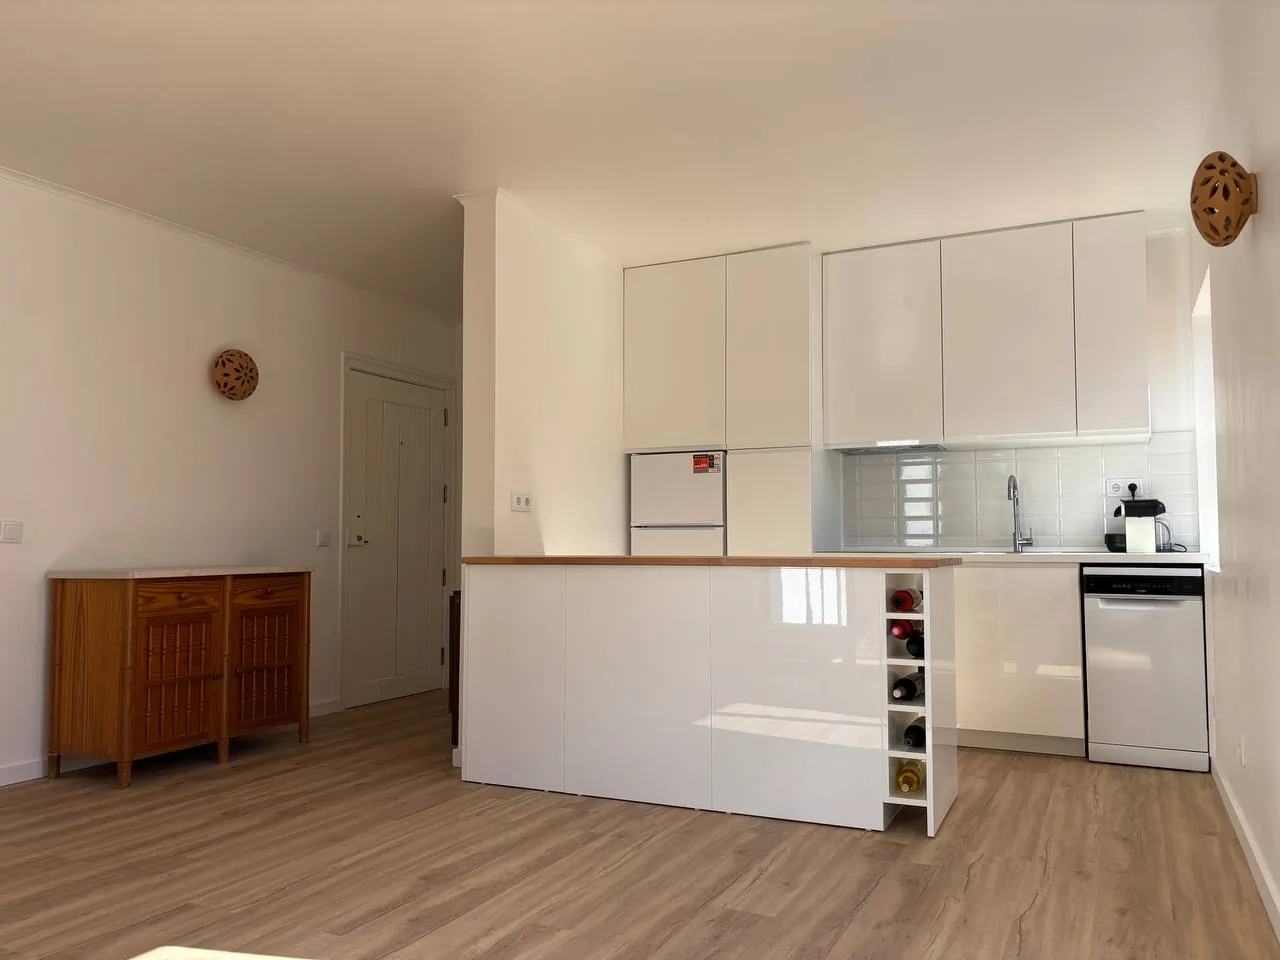
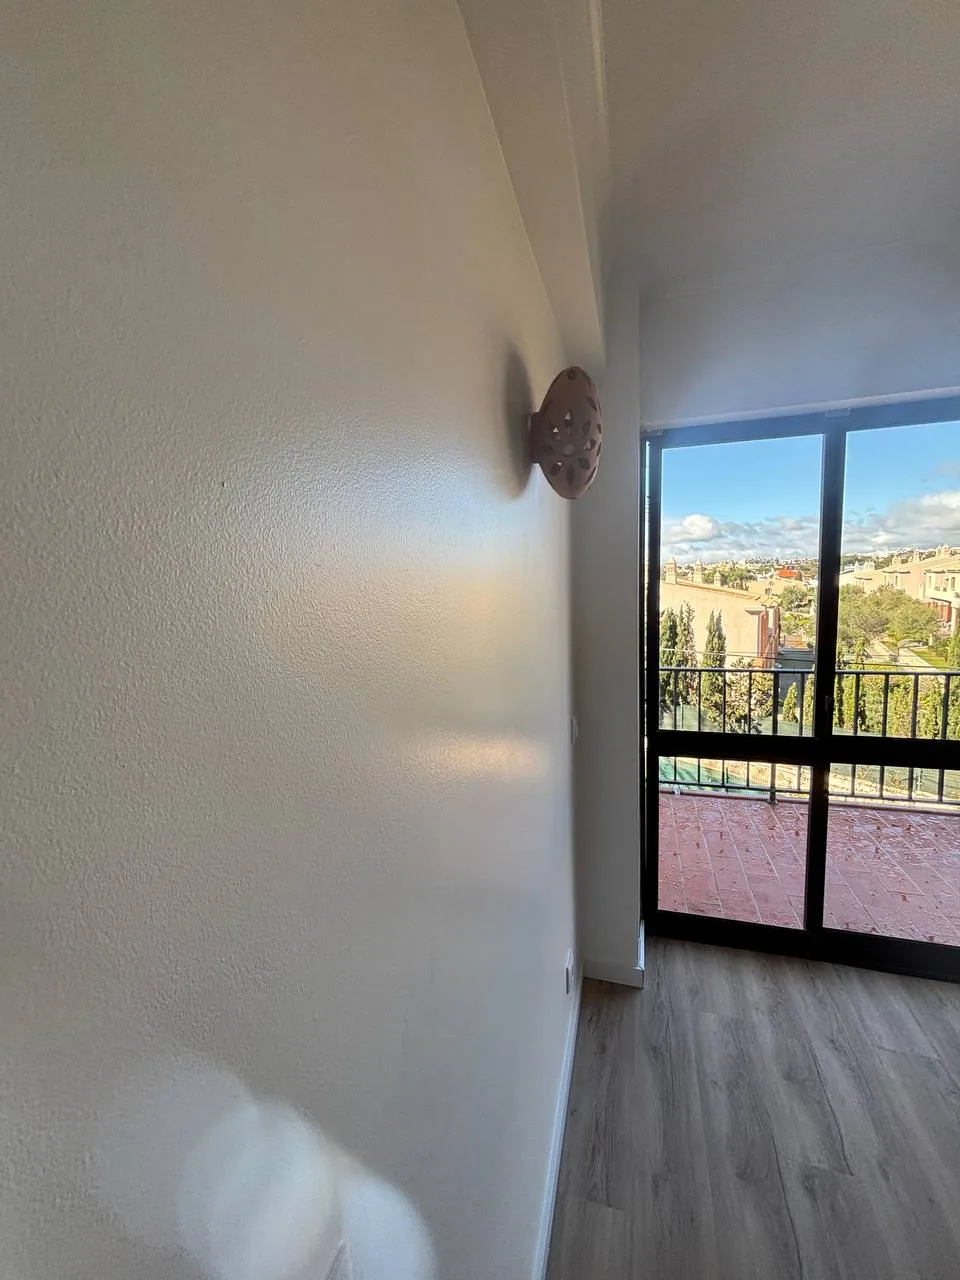
For a planned kitchen project, the useful conversation is specific: where appliances will sit, how doors and drawers open, what services need coordination and which finishes will be agreed before work begins. Build It Now can discuss those requirements through its kitchen renovation service. The scope, products and programme should be confirmed for the individual property.
Equipment details and the terrace
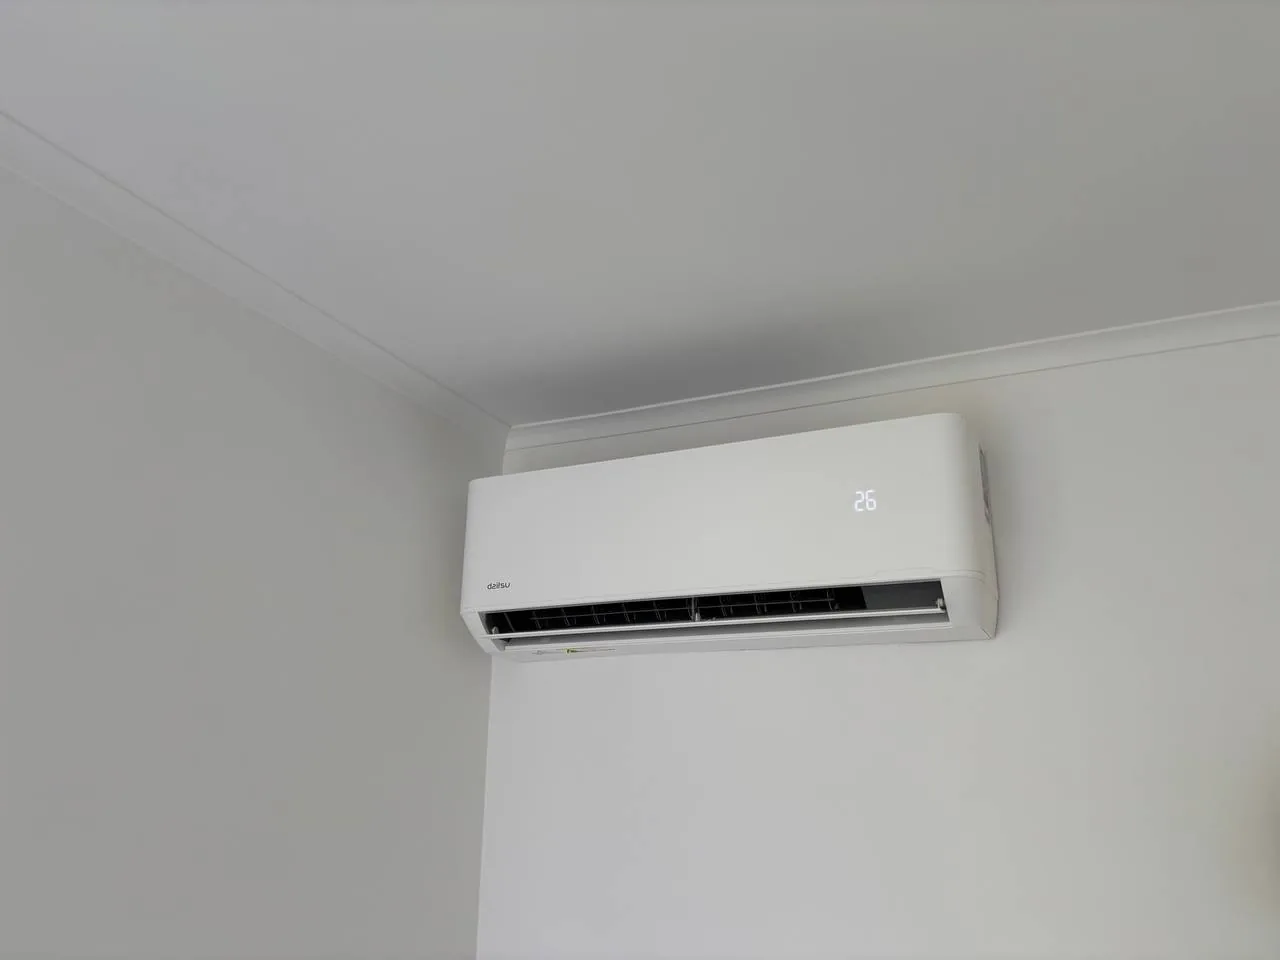
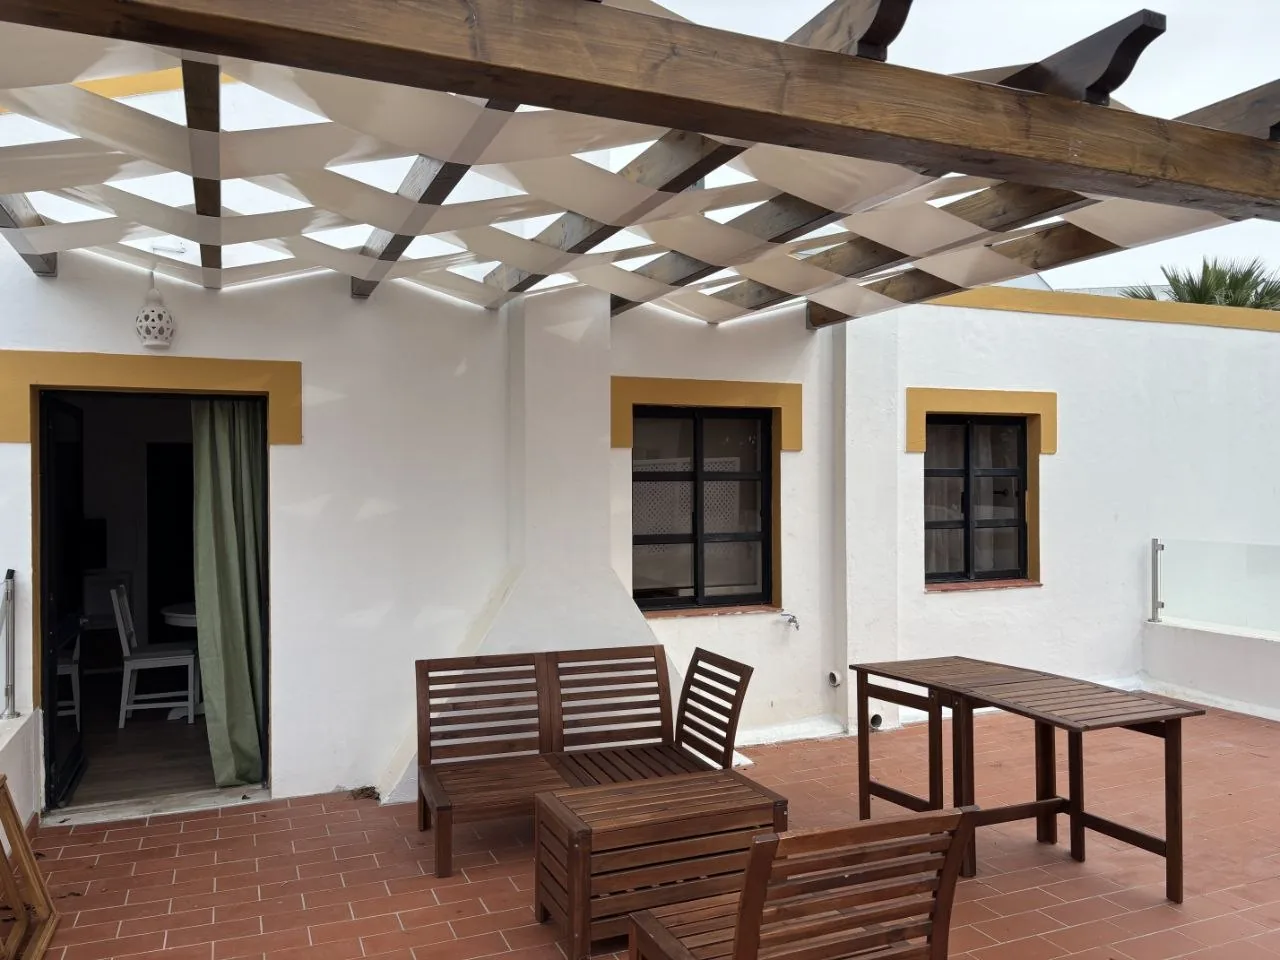
A close-up records a wall-mounted indoor air-conditioning unit. The terrace photograph shows a pergola, wooden furniture and an entrance to the interior. These are separate views of the project archive; neither establishes energy performance, the extent of equipment installed throughout the property or a contractual completion date.
What to ask for when planning your own renovation
Ask for a dated photographic record, an agreed scope and a clear distinction between visible finishes and checks that need their own evidence. If a proposal uses before-and-after photographs, ask whether they show the same room from a comparable position. A finished image is helpful, but it should not stand in for a survey or an itemised specification.
If you are considering a wider refurbishment, explore Build It Now’s full renovation service in the Algarve and arrange a conversation about your property. Share the rooms you want to change, your priorities and any access constraints so the first discussion can focus on an actual scope rather than a generic package.