The air conditioning has arrived: the checks to do before the first hole
Published on 22 November 2026
Real Alfagar photograph: sealed cartons of the indoor split units delivered for the new air-conditioning installation, waiting for the technicians. The image shows the delivery, not an installation result.
Delivery day feels like progress: the boxes are in the hallway, the installer has a date, and the renovation is finally getting its air conditioning. It is also the last moment when a mistake costs nothing. Once the first hole is drilled, a wrong capacity unit or a badly planned position becomes a change order. Between the courier leaving and the technician opening his drill bag there is a short window — usually an hour or two — in which everything below can still be checked, questioned and corrected for free.
Check what actually arrived, not what you picture in your head
The label on each box tells you the model, the nominal capacity, the energy class and the pairing between indoor and outdoor units. Read it against your quotation before anything is unpacked. The three most common mismatches are easy to name and, if found after installation, expensive to undo.
First, capacity per room. A unit sized for a living room will be overkill — and noisier than expected — in a bedroom; a unit sized for one bedroom will run continuously in an open-plan space and never reach the temperature you were promised. The figure on the label (kilowatts or BTU) should match the calculation that justified the price you agreed, room by room, not a single number for the whole flat.
Second, the split logic. If the proposal was a multisplit — one outdoor machine feeding two or three indoor heads — confirm that every head and the correct outdoor unit are on the delivery note. A three-head system delivered with a two-head outdoor section is not a small discrepancy; it is a different system.
Third, the seasonal efficiency label. Power figures get all the attention, but the SEER and SCOP classes are what will shape your electricity bills for the next ten summers. If the delivered class is lower than the one quoted, stop and ask before unboxing.
Photograph the labels before anything is opened
Sealed boxes carry serial numbers, model codes and the transport document. A few photos on your phone, taken before the tape is cut, serve two purposes. They support a warranty claim if the unit fails inside the first year, and they settle disputes about what was delivered versus what was ordered — a conversation that is entirely different when it happens over images instead of memory. If a box arrives badly dented, with a crushed corner or a puncture, photograph that too, note it on the delivery document before signing, and do not let the installation proceed on that unit until the supplier confirms it. A flattened pipe inside a condenser is not visible from the outside, and it is not your problem to discover next August.
Agree the positions on site, in chalk, before the drill comes out
Placement is the part of an air-conditioning job that is decided in minutes and lived with for years. The indoor unit needs a wall with clear airflow in front of it, enough headroom for the filters to be removed during maintenance, and a route for condensate drainage that falls, even slightly, in the direction of a drain or a lawful outside drop. It should not blow directly on to the head of the bed or the sofa where the family actually sits.
The outdoor unit needs ventilation on all sides where the manufacturer asks for it, a solid support, drainage of its own, and a position whose noise does not point straight at a neighbour’s bedroom window. Ask the installer to mark the final positions in chalk or tape on the wall, and walk the rooms to look at them before you approve the drilling. A position that reads well on a sketch can be a surprise when you see the unit above the dining table.
Ask, in the same breath, how far the two units will be apart. Refrigerant pipe runs have a maximum length and a standard allowance included in the quote; beyond it, every extra metre is money, and long runs also cost efficiency. If the route between indoor and outdoor crosses structural elements, that is decided now — not while someone is already on the scaffold.
The boring part that makes everything else work: power and passage
Confirm there is a dedicated circuit for the outdoor unit, in the panel, correctly protected, and that the cable section matches what the manual demands. Ask who supplies and installs that circuit if the quotation assumed it existed and it does not. Then look at the wall passage between the units: what kind of wall it crosses, who core-drills it, where the sleeve will sit and who makes good around it. These small boundary questions — who does the drilling, who does the patch, who runs the cable — are the origin of most arguments on installation day, and they cost nothing to settle before it.
What a sealed box still cannot tell you
Checking the delivery well does not commission the system. The commissioning is what happens at the end of the installation: a real test cycle at both heating and cooling, a look at the condensate actually leaving, a note of the pressures where the installer uses a gauge, and a demonstration you receive with your own eyes, not a signature. Ask for the paperwork that comes with the unit — invoice, warranty registration and, if the installer holds it, the certificate the refrigerant work requires in Portugal. Keep the boxes for a couple of weeks after installation, not just until it starts: if a unit has to go back, you will be glad they are in the garage.
None of these checks need a technical background; they need thirty quiet minutes before the work starts, a printed copy of the quotation and a phone camera. Whether you use our crews or another contractor, this hour belongs to you — and it is, by a wide margin, the cheapest hour in the whole project.
Before the furniture returns: checking an empty new room
Published on 21 November 2026
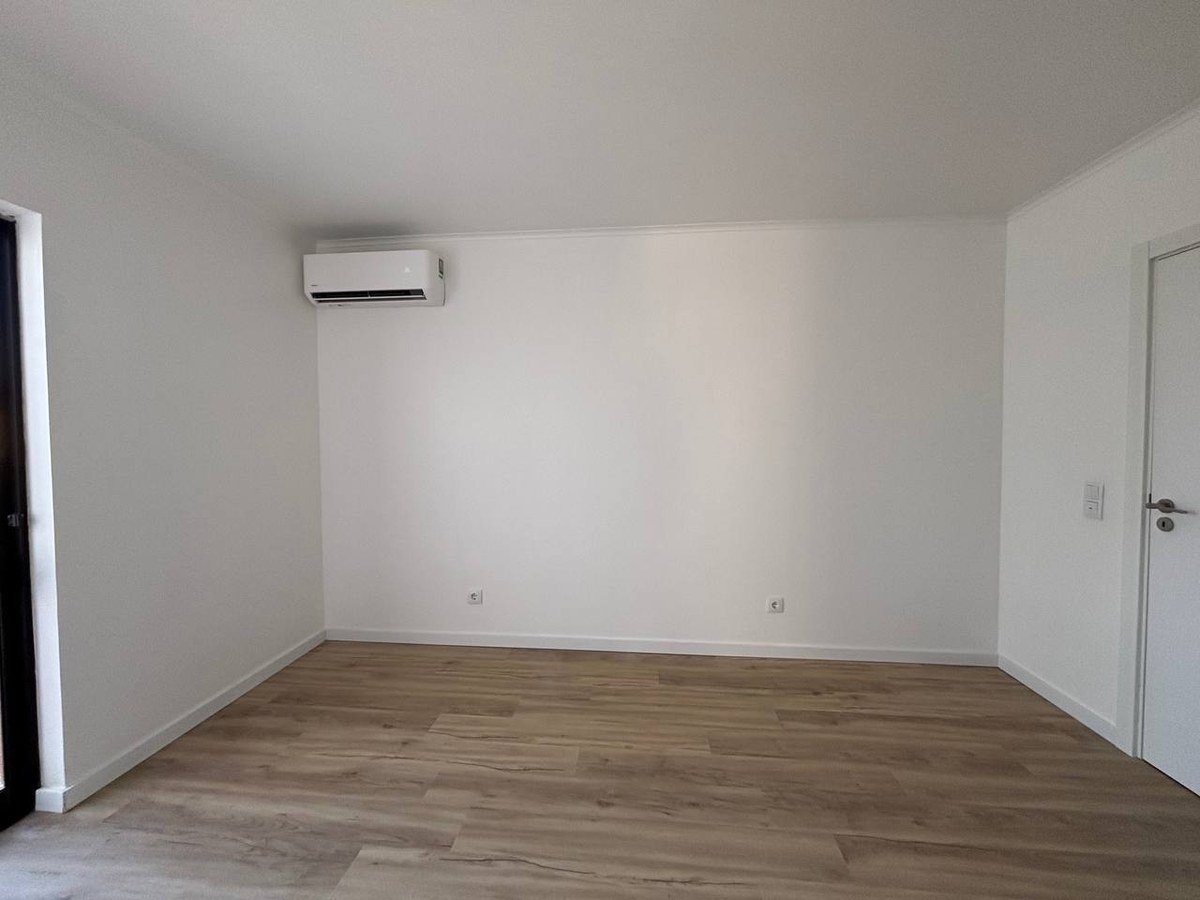
Real Alfagar photograph at completion: living space handed over empty, flooring, skirting, wall-mounted unit and joinery installed. The image shows the finished appearance, not a technical test result.
There is one short window in every renovation when a room can be judged honestly: the days after the builders have finished and before the sofa, boxes and wardrobes come back through the door. Once the furniture is in, half the floor is covered, half the wall sockets are hidden, and a skirting joint that never got glued sits silently behind a dresser for a year. An empty room is the only moment when everything is visible at once — and most owners, exhausted by the works, spend it taking photographs instead of running checks.
None of the checks below require tools or expertise. What they require is a free half-day and the willingness to notice small things while the crew can still be called back cheaply. This is how we like our own handovers to work, on jobs where the client is around to walk the rooms before the delivery van arrives.
Walk the room twice: once in hard light, once in low light
Fresh white paint looks flawless under midday sun and honest at sunset. Come back in the early evening with the blinds open and stand where the windows put raking light across each wall. Roller texture, patched corners and a second coat that stopped short of the ceiling line all show themselves as shadows, not colours. Nothing here is a fault to fight about; it is a short list of spots worth a quick touch-up while the paint tin is still somewhere on site.
Underfoot: the floor wants a walk, not a glance
Click-fit laminate and rigid vinyl floors are installed dry over an underlay, and their two honest tests are sound and height. Walk slowly across the whole room in socks: a hollow click or a soft spot usually means an empty pocket under a plank edge. Then check every threshold — front door, balcony door, the line where the flooring stops and tiles begin — with something flat you are willing to slide under a door. A floor that clears a door today is the one thing that cannot be quietly fixed later, because furniture and curtains will arrive around the problem.
Every opening, opened and closed twice
Interior doors, windows, the balcony door, the shutters if the home has them. Open each one fully, let go gently and watch where it stops: a door that swings on its own is hanging out of plumb, a window that needs a second push to latch has a frame that moved during the works. Check the seals run unbroken and the drainage slots in the outer frame are clear of paint and debris. Do this before the curtain rails go up, because a rail installed on top of a stiff window only makes the complaint ambiguous.
Sockets, switches and one real cycle of the air conditioning
Take a phone charger and test every socket, then label what the switches actually control — the old habit of switching two at once and guessing survives into furniture delivery day otherwise. If the rooms have split units installed, run each one properly for ten minutes in cooling and again in heating while the room is empty: air should move, noise should stay low, and after the cooling cycle no water should be dripping from the indoor unit’s face. If it does, that is a drainage conversation to have now, in writing, not on the first hot week in July.
Look up and look down at the joinery lines
The quiet quality of a finish is in the lines: skirting against floor, architrave against wall, the paint edge along a ceiling cornice. Run a fingertip along a few metres of skirting — gaps that swallow a matchstick where the wall bows are normal in older buildings, but they should be filled and painted, not left open to catch dust behind the sofa. Same test for the reveal around doors. Where the answer is a bead of caulk, better found now than after the first clean marks a grey stripe along it.
Sequence the furniture, not just the checks
Bring the big pieces back in the order that keeps the checks valid: wardrobes and sofas first, because their delivery scratches floors and dents fresh plaster; lamps, curtains and the small shelves last. Leave a clear strip along each wall for a week before bolting anything to it, so a socket that failed the charger test is still reachable with the crew one phone call away. A room furnished in two stages looks the same in the end and costs far less to correct.
None of this is a certificate, and none of it replaces the walk-through your own contract may already define. It is simply the difference between a renovated home that looks finished on day one and one you still trust at the end of the first winter in it.
A brand-new kitchen: the checks before your first serious cook
Published on 20 November 2026
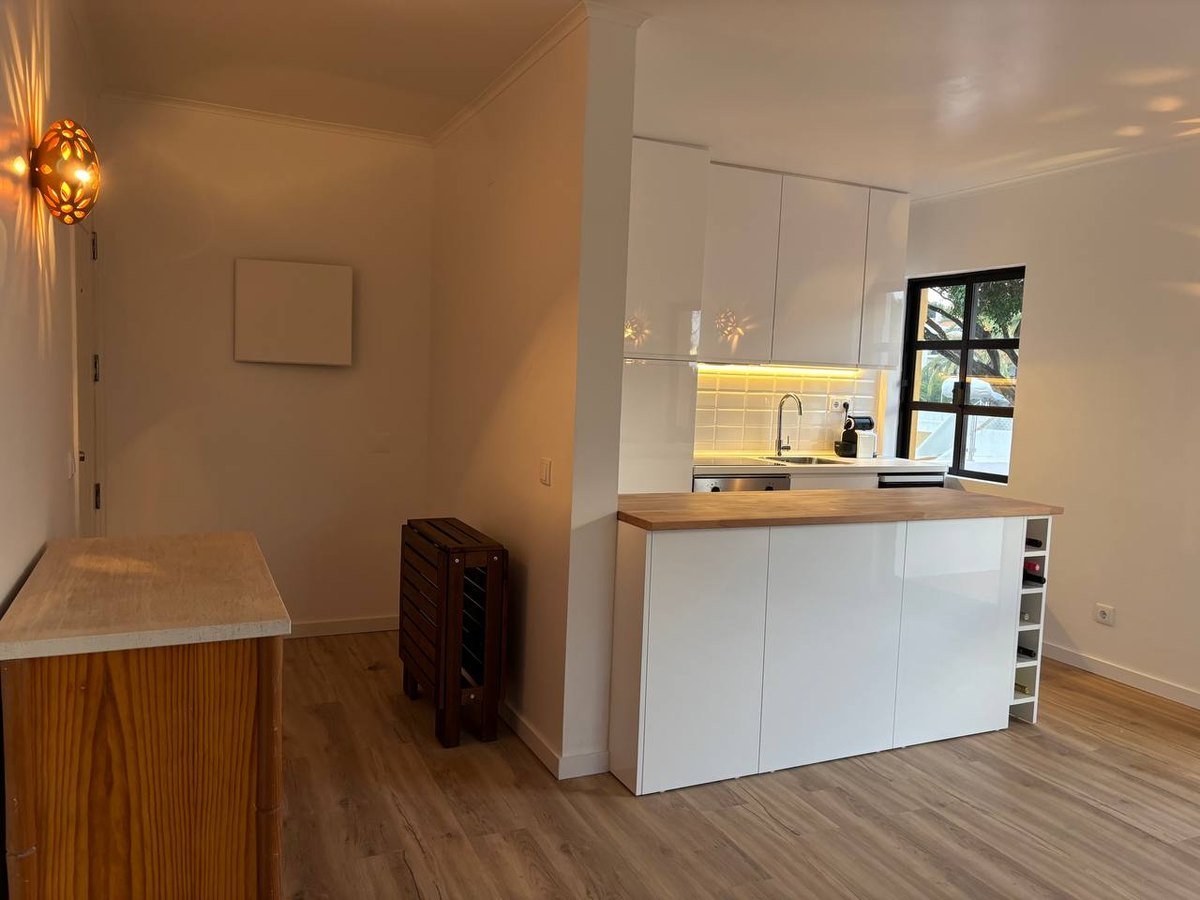
Real Alfagar photograph at handover stage: finished kitchen, peninsula and built-in appliances in use-ready appearance. The image shows appearance, not a technical test result.
A new kitchen is handed over looking its best and judged at its worst within days. The first family meal you actually cook tests more surfaces at once than any walkthrough the installer could stage: hot pans, splashing water, full drawers and the extractor running. It is worth deciding, before that meal, which things you want to have proven — because a check done after the first disaster reads like blame, and a check done before it reads like normal handover.
Find the stopcocks and switches before you need them
Every kitchen has shut-offs: the stopcock or isolation valve for the sink mixer, usually inside the base cabinet, and the individual spurs behind the oven, hob and dishwasher. Open each cabinet door and confirm you can physically reach each valve without uninstalling anything. Then switch the appliance spurs on and off once, so you know which switch does what. The morning a pipe weeps is the worst possible time to be learning this for the first time.
Let the water prove itself twice
Fill the sink and release it: watch the siphon and the waste connections with a torch, and feel the cabinet base for damp when it has drained. Then run the mixer on hot and cold separately and time how long hot water takes — a long wait is normal in some layouts, but it is good to know now rather than to suspect a fault later. If the dishwasher is installed, run one short hot cycle empty before the first loaded one, and check nothing pools under the door seal.
Test extraction the way cooking tests it
A cooker hood either ducts outside or recirculates through filters, and the two fail differently. Hold a sheet of paper near the filter while the hood runs on its highest setting: if it is captured, airflow is working. For ducted systems, feel for air actually arriving outside. Recirculating hoods need their filters registered as consumables in your paperwork, because they silently stop doing their job when saturated. Which setup you have is a fair question to ask in writing during handover.
Worktops, joints and the things that still need to cure
Silicone beads between worktop and splashback look finished the day they are applied but need time to cure fully; ask how long before standing water at the seam is safe. Solid wood worktops have their own rule set: they are usually oiled or lacquered to a specification, and the first hot pan left on the wrong finish teaches the lesson expensively. Ask, before the first cook, what the surface is actually finished with and what the manufacturer says about heat and water at the seams.
Load the cabinets the way real cooking will
Empty doors hang straight; full ones reveal everything. Put weight in the drawers you will really use — pans in one, plates in another — and open and close each one twice. Look at hinge fixings, check that doors still shut to the same gap, and listen for new sounds. A door that aligns empty and sags loaded is a small adjustment at the hinge screws, not a warranty crisis — but it is a conversation you want to have while the fitter can still be booked cheaply.
One dated page, taken while everything is still new
Photograph the appliance rating plates, the stopcock locations and the worktop finish note, and write one page dated the day you got the keys: what works, what you were told, what still feels unresolved. If a fault appears in the first months, that page turns “something is wrong” into a sentence with a date, a location and a photo attached — which is how ordinary corrections get made without arguments.
None of this is a certification. It is simply the difference between a kitchen you admire for a week and a kitchen you trust through the first winter of real cooking.
Shower screen handover: the five-minute walk before the first real shower
Published on 19 November 2026
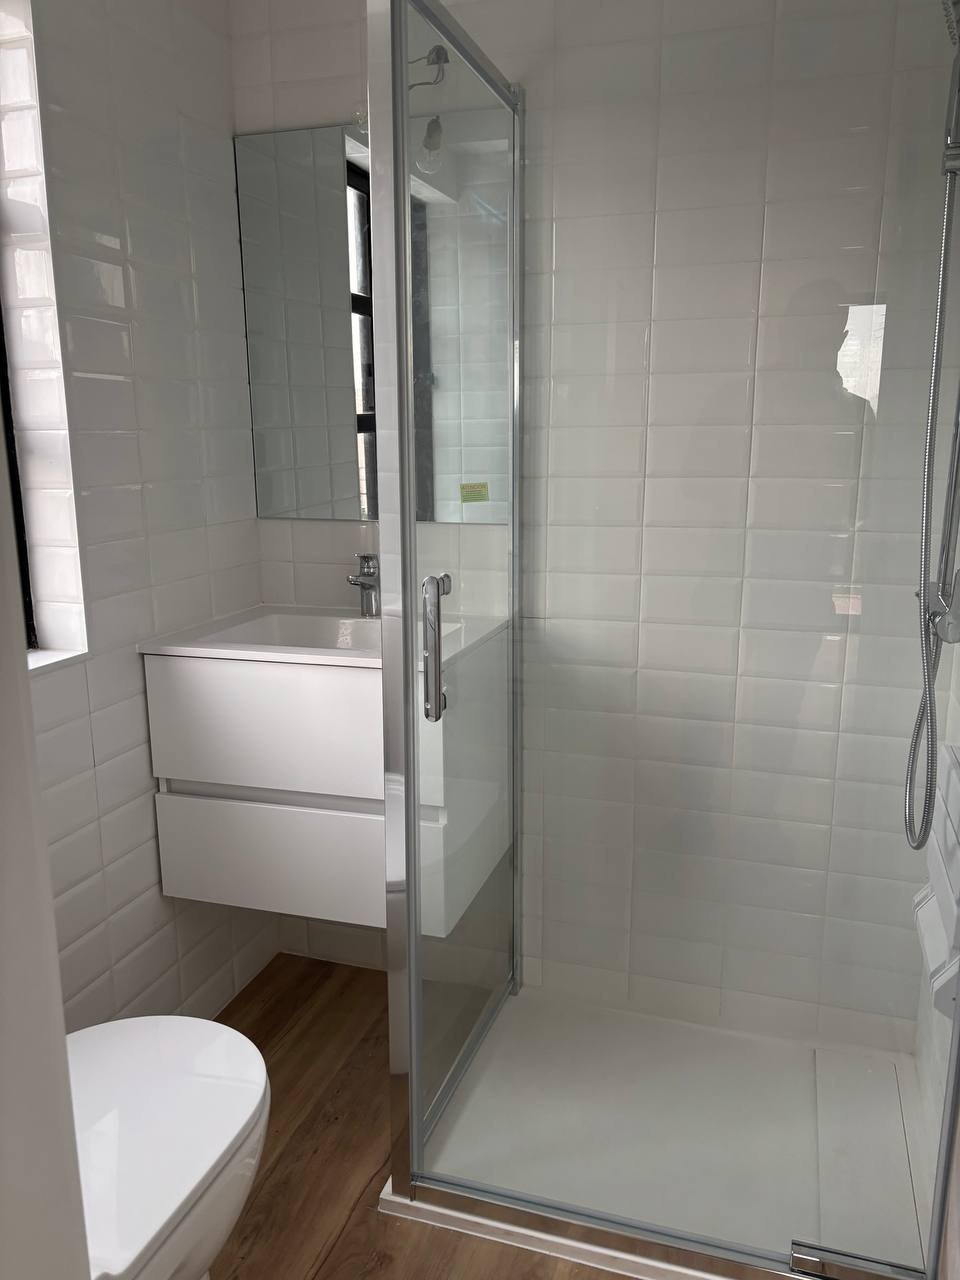
Real Alfagar photograph at handover stage: finished bathroom, glass shower screen installed; the sticker on the panel is the kind of detail the walk below resolves. The image shows appearance, not a technical test result.
The bathroom is the last room to be finished and the first to be used wrong. Before the first real shower, the glass screen, the tray and the silicone joints deserve a short, deliberate walk — the kind that costs five minutes now and saves a long argument about warranty later.
Read the glass before you admire it
Every fixed panel and door should carry its manufacturer’s marking: toughened glass shows an etched or printed stamp, usually small and in a corner. Find it on each piece, not just one. Photograph the stamp together with the paperwork the installer hands over, which should state the glass make-up and thickness. If the screen arrived with a protective film or factory sticker, ask in front of the glass whether it must come off before first use or after the silicone has fully cured — removing it too early on a curing joint is how tiny leaks appear.
Then test the movement, slowly. A hinged door should close without its edge touching the tile or the tray; a sliding door should run its full width without a hard spot. Watch the gaps at the corners when the door is shut: a gap that lets water escape forwards is not a cosmetic detail, it is tomorrow’s wet floor outside the shower.
The tray and the two lines of silicone
Pour two buckets of water onto the tray — slowly, the way a rain shower would, not the way a pressure jet would — and stand back. The water should find the drain without standing pools, and there should be no trail escaping past the fixed panel into the bathroom floor. A shallow pool beside the drain means a fall that was drawn on paper but not laid in the room; it is fixable at handover and expensive after months of use.
Next, look at the two joints that decide the life of the installation: where the tray meets the wall tiles, and where the glass channel meets the tray and wall. They should be continuous, smooth and without pinholes. A bead applied with a dry finger leaves gaps that blacken within a season. If the silicone looks rushed, say so at the handover walk, not after the first mould.
Hardware, handles and what they promise
Towel rails that double as door handles take real force; check they are fixed into the framing or a solid substrate, not just into tile. Clips and hinges should have no play when you lift the door by its handle. If the specification listed a particular stainless grade for the coastal air, compare what is fitted with what was quoted — a downgrade is legitimate only when it is documented and accepted in writing.
Ask which cleaner the manufacturer excludes. Acidic bathroom products attack chrome and some channels; hard water in parts of the Algarve leaves scale fast, and the wrong routine makes a one-year-old screen look ten.
A second look after the first month
Silicone needs time, and habits form sooner. Around the fourth week, repeat two small things: press the corner seals again — a bead that stayed soft may now show a gap where the first showers found the low spot — and wipe the glass with the agreed routine rather than whatever the household reaches for. Residue builds where rinse spray dries, usually at the hinge side. Two minutes, done once, tells you whether the walk you made at handover is holding or whether one line of it belongs in the installer’s follow-up list.
One page, two photographs, one date
Finish the walk by writing one page: what you tested, what the glass stamps say, what still bothers you and by when it will be resolved. Photograph the seals and the drain while the water is still running, with the date in the metadata. The installer keeps a copy, you keep a copy.
This is not distrust; it is how both sides protect a good job. A shower screen that passes a five-minute walk today is a screen that keeps passing quietly for years — and the family gets to enjoy the first real shower without thinking about any of it.
Bathroom lighting: plan the mirror separately from the decorative fitting
Published on 18 November 2026
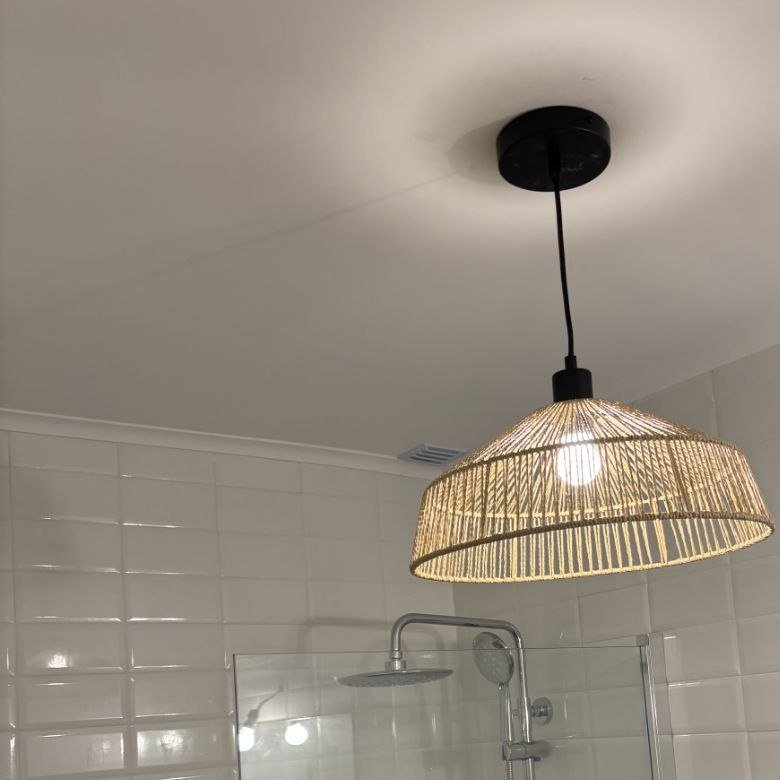
Real Alfagar photograph, cropped to show the decorative fitting. The image illustrates appearance, not electrical suitability or the lighting performance of the room.
A pendant light can be the first thing you notice in a bathroom photograph, while the light you need at the mirror remains an afterthought. Those are different decisions. Before selecting a fitting for an Algarve renovation, work out what you want to see clearly, what atmosphere you want to create and which questions need an electrician’s assessment. A beautiful shade is a starting point, not a complete lighting plan.
The useful distinction is between light for everyday tasks, light for moving around the room and light chosen for its decorative effect. One fitting may contribute to more than one purpose, but do not assume that its appearance tells you how well it will serve all three. Describe each purpose before asking the project team to recommend an arrangement.
Start at the mirror, not in the lighting catalogue
Think about an ordinary morning. You may shave, apply make-up or check your appearance at the basin. Record what is difficult in the existing room: perhaps your face appears unevenly lit, or you find yourself leaning towards a brighter patch. These observations are more useful than an instruction to copy a pendant from a reference photograph.
Discuss the mirror, its position and the intended lighting together. A mirror cabinet, a framed mirror and a larger wall-mounted mirror leave different space for fittings and access. Ask how the proposed arrangement will illuminate the person using it, rather than judging the effect on the empty room alone. Keep product selection open until the relevant dimensions and installation constraints have been checked.
Give decorative light a clear job
A decorative pendant or wall light can bring texture, warmth or a visual focal point to a bathroom. That is a legitimate purpose. Problems arise when a preference for the fitting silently becomes an assumption that it will also provide all the light needed for grooming and general use.
In the Alfagar photograph, the woven shade is the visual subject. Use it to explain a preference for a material or an atmosphere, not as evidence that the same fitting belongs in another bathroom. The photograph does not identify its product specification, the concealed installation or the measured light reaching a mirror. Your own selection needs to be considered in its proposed location.
Describe the situations, then discuss the controls
Make a short list of the situations the room needs to support. For example, a hypothetical household might want clear mirror lighting in the morning and a softer atmosphere while getting ready for bed. That does not automatically mean a particular dimmer, a smart control or separate circuits. It gives the electrician a practical question to resolve.
If you are discussing bathroom changes with Build It Now, bring this list alongside the layout and preferred fittings. Ask which parts of the lighting discussion depend on information that is still missing. The aim is to avoid choosing a control for one product and later discovering that a replacement product requires the proposal to be reconsidered.
Look at the finishes with the light switched on
White tiles, a painted ceiling and a textured shade can look different under different light and at different times of day. Where a sample or a demonstration is available, look beyond the fitting itself. Notice reflections in the mirror, bright points that catch your eye and whether the effect suits the way you expect to use the room.
A demonstration away from the property is a reference, not a prediction of the finished result. Record what you liked about it: the appearance of the shade, the softness of the effect or the colour impression. This is more helpful than calling a fitting “warm” and assuming that everyone understands the same combination of brightness, colour and material.
Leave bathroom electrical suitability to the assessment
Do not infer suitability from a shop photograph, a bathroom label or a fitting already installed elsewhere. Ask a qualified electrician to assess the proposed position, the product information and the installation requirements for this room. Avoid fixing a location or buying a decorative fitting on the assumption that the technical detail can be settled afterwards.
The same conversation should cover how the fitting can be reached for cleaning and replacement. If a shade, driver or light source needs future attention, ask what access would be required. These are questions to resolve before committing to a selection, not instructions to alter wiring or open existing equipment yourself.
Confirm the combination before the order
Before ordering, check that the product reference, mirror arrangement and intended use still describe the same proposal. Keep a clear distinction between an attractive alternative and the selection being assessed. If a product changes, ask whether the lighting effect, controls or installation assumptions need another look.
The result you are working towards is not simply a striking bathroom photograph. It is an agreed combination in which the mirror lighting, general use and decorative effect have each been considered. Starting with those separate jobs makes the discussion more precise and leaves fewer decisions hidden inside a single choice of lampshade.
To provide the best experiences, we use technologies like cookies to store and/or access device information. Consenting to these technologies will allow us to process data such as browsing behaviour or unique IDs on this site. Not consenting or withdrawing consent, may adversely affect certain features and functions.
Functional
Always active
The technical storage or access is strictly necessary for the legitimate purpose of enabling the use of a specific service explicitly requested by the subscriber or user, or for the sole purpose of carrying out the transmission of a communication over an electronic communications network.
Preferences
The technical storage or access is necessary for the legitimate purpose of storing preferences that are not requested by the subscriber or user.
Statistics
The technical storage or access that is used exclusively for statistical purposes.The technical storage or access that is used exclusively for anonymous statistical purposes. Without a subpoena, voluntary compliance on the part of your Internet Service Provider, or additional records from a third party, information stored or retrieved for this purpose alone cannot usually be used to identify you.
Marketing
The technical storage or access is required to create user profiles to send advertising, or to track the user on a website or across several websites for similar marketing purposes.